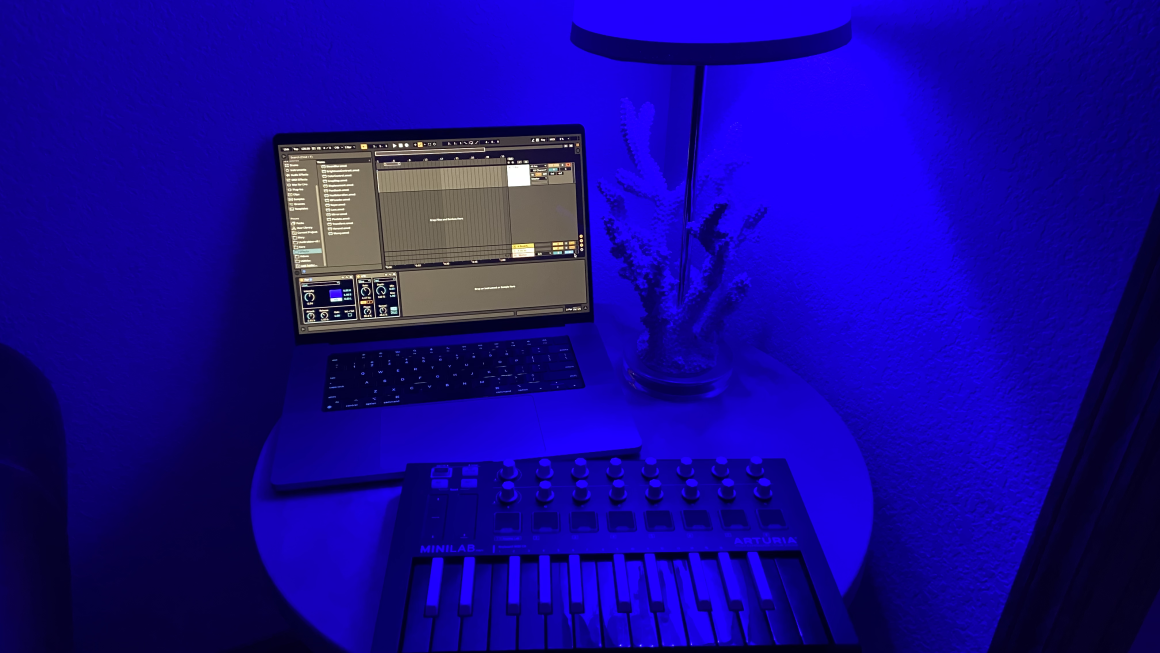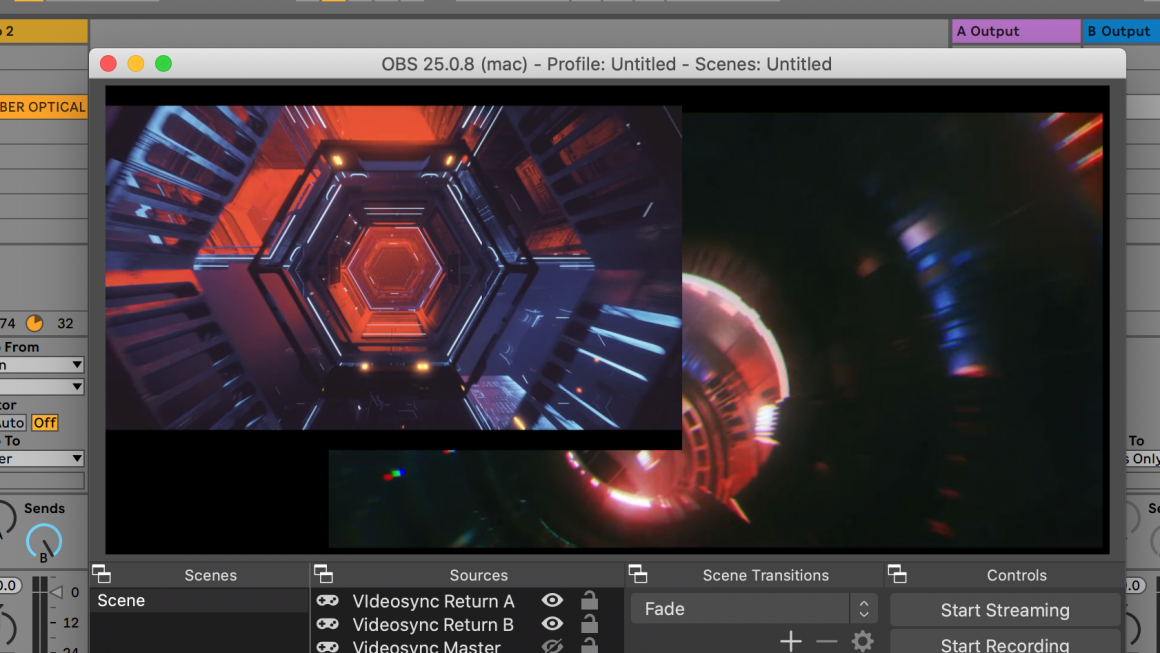
With the arrival of Videosync 1.1 (released in April 2022) using ISF shaders in Ableton Live has become a lot easier. The new ISFLoader device allows you to open any ISF shader example that can be found on editor.isf.video.
There is no conversion or editing needed for this, just download the zip and drag the included .fs file onto ISFLoader. Click here to see a video tutorial on how to do this and on how to map and control the shader parameters in Live.
But what might not be so evident, is that it is also possible to load most shaders found on Shadertoy.com into ISFLoader. This does require a little conversion, however. This article will discuss this conversion with a simple example.
Magic Music Visual shader conversion
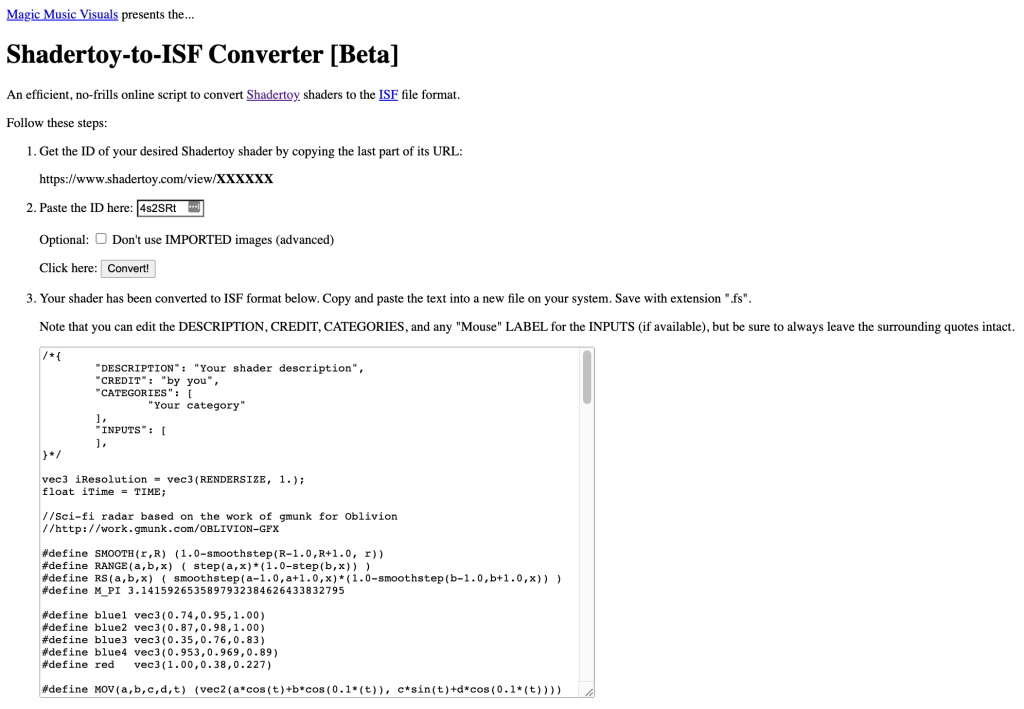
There are multiple ways to go about converting, but if you want the fast easy way, the Shadertoy-to-ISF Converter is a nice online tool made by Magic Music Visuals which automatically converts Shadertoy GLSL shaders to ISF shaders in only a few steps:
- Copy the last symbols from a Shadertoy link, paste them and press
convert - Copy the resulting text into an empty text-editor file (read more about Text editor suggestions below), name it and save it as a
.fsfile. - Drag and drop the
.fsfile into ISFLoader, and voila!
Text editors
Both macOS and Windows both come with their own free text editors.
- For Mac, there is TextEdit, which by default is a Rich Text editor. For coding Plain Text is much more suitable. You can switch to Plain Text by using the Format menu and clicking Make Plain Text, or use the shortcut
SHIFT+CMD+T. - For Windows, there is Notepad, which is a simple Plain Text editor.
- Visual Studio Code is a cross platform Plain Text editor, that you can download for free here.
Adding custom controls
When converting by using the tool by Magic Music Visuals, no controls are added. But luckily it is not too complicated to manually make the shader interactive. In the top of the .fs file there will be a section called “inputs” which looks like this:
"INPUTS": [
],
We can then replace any variable used in the shader with a new name. Let’s say we have a shader in which the variable ‘x’ appears. We can replace it with a new name (position_x) and add it to the inputs.
All you have to do is to fill in some details about the parameter, namely:
- name of the variable
- type of the variable
- label you would like to give the variable
- default value
- minimum value
- maximum value
It should look something like this:
“INPUTS”: [
{
  "NAME": "position_x",
  "TYPE": "float",
  "LABEL": "Position X",
  "DEFAULT": 50.0,
  "MIN": 0.0,
  "MAX": 100.0
}
],
Note that the comma’s have to be in the right place or it will not work.
Below, a simple example can be found following this method of conversion and adding inputs.
Example with steps
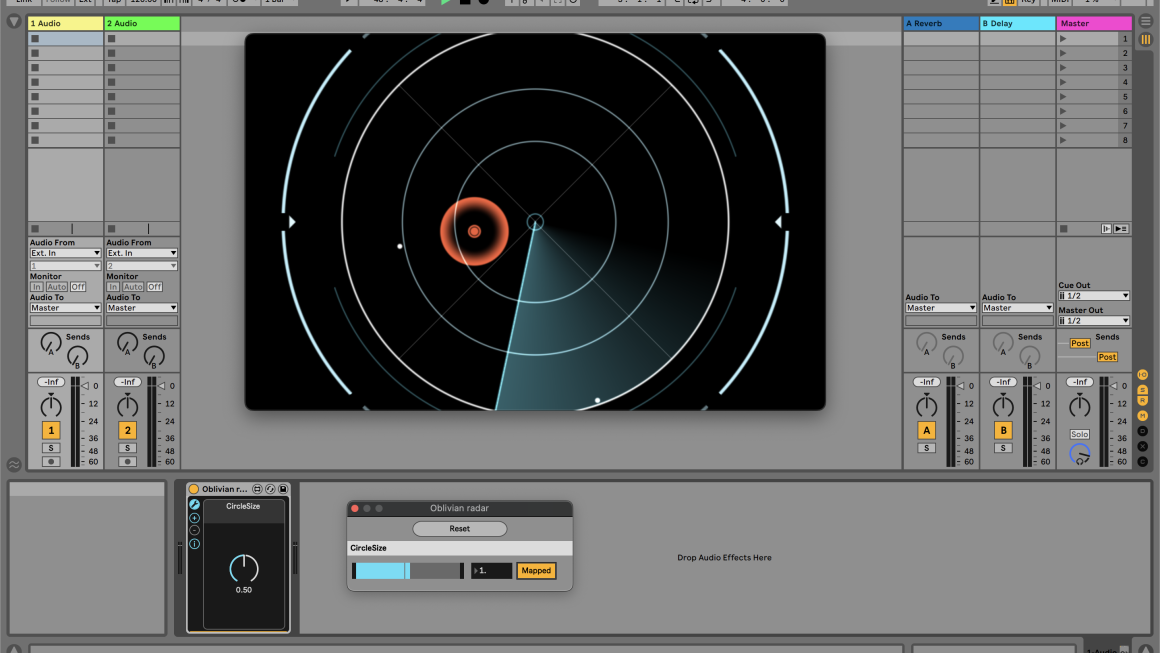
For this simple example we will use this shader called ‘Oblivian radar’ by ‘ndel’.
1. Copy the last 6 symbols from the shadertoy link. In this case 4s2SRt.
2. Paste it into Magic Music Visual’s website, and click convert, the result should look something like this:
3. Then copy the resulting text into a new file in your text editor and save the file as a .fs file:
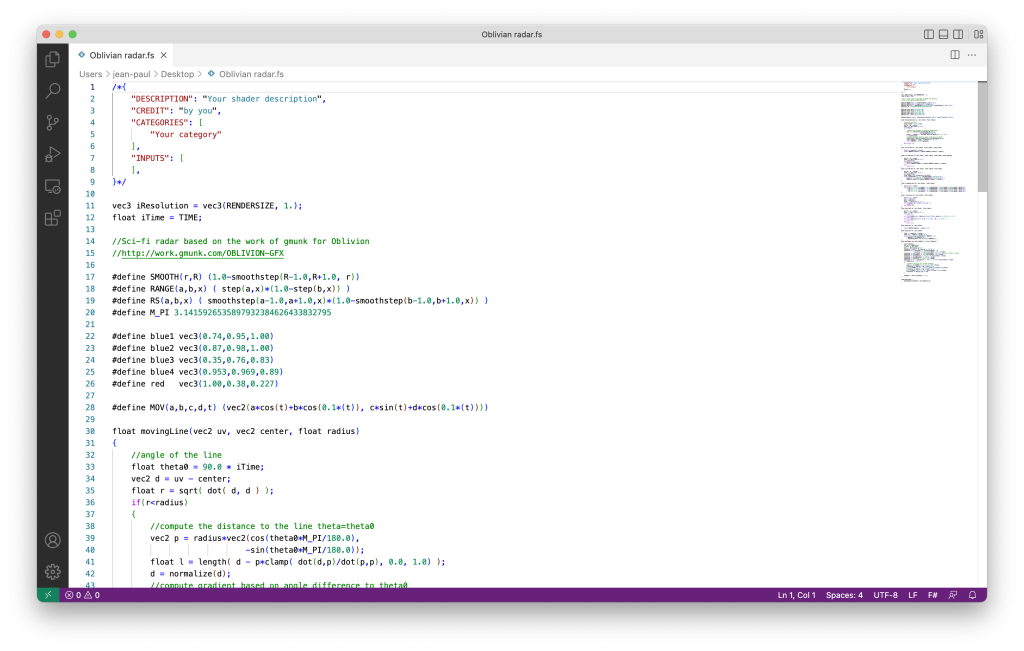
4. We could just drag and drop this file into the ISFLoader, but there would be no controls in this case. So let’s add an input. It might be that you would like to have control over the size of the circles in the image for instance. To change this we could add a variable that multiplies with the given circle sizes. In the void mainImage function (at the bottom of the code) we can find the defined circle sizes We could simply add a multiplier to this (let’s call it circleSize) which would look something like this:
void mainImage( out vec4 fragColor, in vec2 fragCoord )
{
    vec3 finalColor;
    vec2 uv = fragCoord.xy;
    //center of the image
    vec2 c = iResolution.xy/2.0;
    finalColor = vec3( 0.3*_cross(uv, c, 240.0) );
    finalColor += ( circle(uv, c, 100.0*circleSize, 1.0)
                  + circle(uv, c, 165.0*circleSize, 1.0) ) * blue1;
    finalColor += (circle(uv, c, 240.0*circleSize, 2.0) );//+ dots(uv,c,240.0)) * blue4;
    finalColor += circle3(uv, c, 313.0*circleSize, 4.0) * blue1;
    finalColor += triangles(uv, c, 315.0 + 30.0*sin(iTime)) * blue2;
    finalColor += movingLine(uv, c, 240.0) * blue3;
    finalColor += circle(uv, c, 10.0, 1.0) * blue3;
    finalColor += 0.7 * circle2(uv, c, 262.0, 1.0, 0.5+0.2*cos(iTime)) * blue3;
    if( length(uv-c) < 240.0 )
    {
        //animate some bips with random movements
    	vec2 p = 130.0*MOV(1.3,1.0,1.0,1.4,3.0+0.1*iTime);
   	finalColor += bip1(uv, c+p) * vec3(1,1,1);
        p = 130.0*MOV(0.9,-1.1,1.7,0.8,-2.0+sin(0.1*iTime)+0.15*iTime);
        finalColor += bip1(uv, c+p) * vec3(1,1,1);
        p = 50.0*MOV(1.54,1.7,1.37,1.8,sin(0.1*iTime+7.0)+0.2*iTime);
        finalColor += bip2(uv,c+p) * red;
    }

    fragColor = vec4( finalColor, 1.0 );
}
5. Then we have to add this new variable to the inputs to make the shader interactive by defining the parameters mentioned earlier:
"INPUTS": [
    {
        "NAME": "circleSize",
        "TYPE": "float",
        "LABEL": "circleSize",
        "DEFAULT": 1.0,
        "MIN": 0.0,
        "MAX": 2.0
    }
],
The default is 1, which means nothing is changed by default. If we now save the file and drag it into the ISFLoader, a menu should pop up in Live:
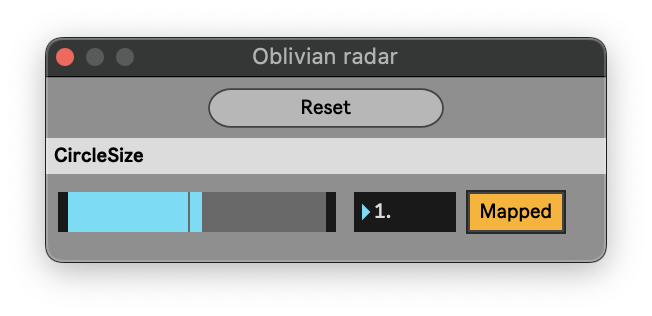
This parameter can now be mapped and used in Live, the result:
Other methods
If you want to try converting a shader manually, there is a comprehensive tutorial on the ISF website. Alternatively, if you would like to make your own ISF shader, there is a tutorial on making them from scratch.
We hope this was useful, and that you have fun playing around with cool shaders!