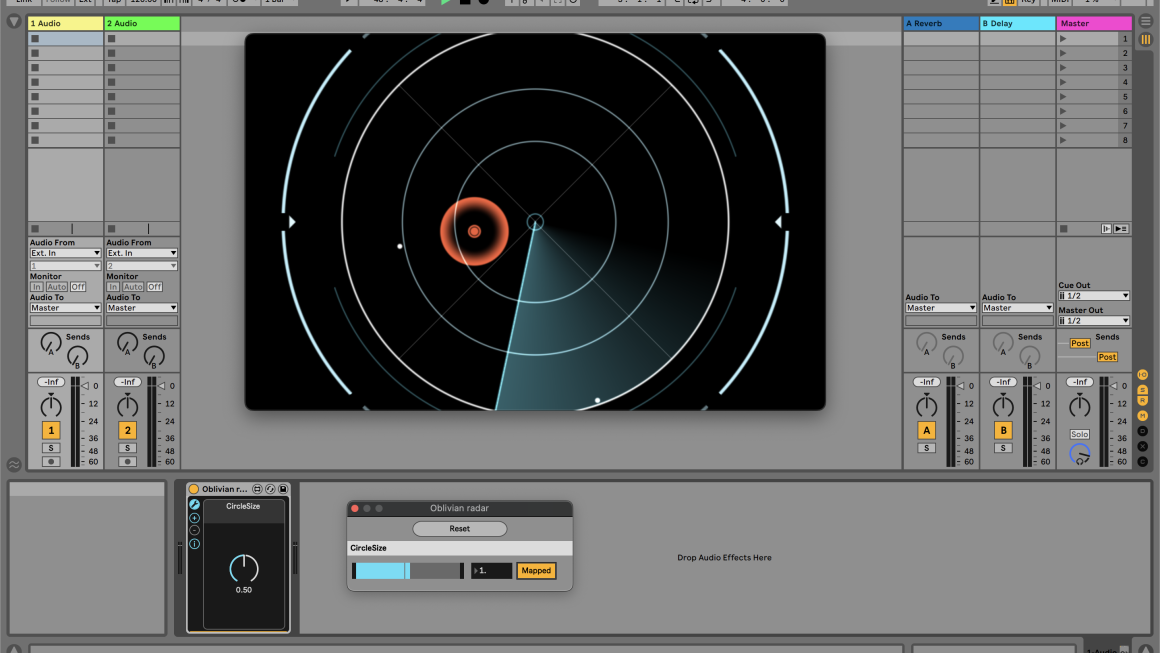
Want to control your home lighting with Ableton Live? It’s possible! This guide will take you step-by-step through the process of configuring your Hue fixtures to communicate with Beam so that you can create your own home compositions like this:
Note: Philips Hue lights function differently than traditional DMX fixtures. For more details on how to work with them, see this section below.
Set up your Hue system to communicate with DMX protocol
Thanks to a package created by GitHub user sinedied, it’s relatively easy to make your Hue lights addressable via Art-Net.
- Prepare for installation by heading to https://nodejs.org/, download the version of Node.js that says “recommended for most users”, and run the installer.
- Install dmx-hue by opening a Terminal window and running the command:
sudo npm install -g dmx-hue
- Next, link your bridge to the software by entering:
dmx-hue setup
You should see the message “Hue bridge found at [IP address]. Cannot link, press the button bridge and try again.” However, if you see the message “No bridge found”, you will need to manually enter the IP address using the following command:dmx-hue setup -i [IP address]
…where [IP address] is the IP address of your Hue bridge. You can find it by opening the Hue app and going to Settings > My Hue System and selecting your Hue system. As with the above command, you will then need to press the button bridge and re-run the command. - Input your desired settings. (Note: use the space-bar to select or unselect fixtures.) When you’re done, hit enter to save your configuration file.
- Your Hue bulbs are ready to talk to Beam!
Create a new lighting patch
Before opening Beam, run dmx-hue on the command line in Terminal to initialize the Art-Net node. Then open Beam and create a new patch. Click the gear in the left-hand column to open the Preferences tab. Under “Output”, select “ArtNet” from the drop-down and enter “0.0.0.0”.
Now it’s time to add your Hue fixtures to the patch. Refer back to the output of dmx-hue in Terminal. It will look similar to the following:
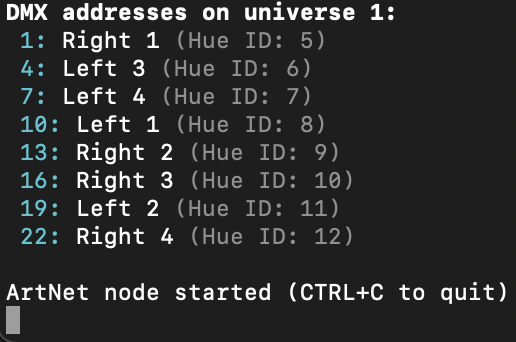
Back in Beam, click “Add Fixtures”. For “Universe” you will increment the value stated in the output of dmx-hue. For example, with the above configuration, the correct Universe value would be “2” (here is an explanation of why these values differ. ) Conversely, the “Address” values should be exactly the same as in dmx-hue. To add multiple fixtures at once, use the lowest address value and enter the number of fixtures you want to add under “Extra”. The following shows the configuration I would use to add all of the lights in the setup shown in my dmx-hue output:

Note that the tag name that I’ve entered will carry across all of the lights. After I add them to the patch they will also be automatically assigned note name tags, which will be used later on in Ableton Live to “play” them.
Testing it out
If you are running Beam 1.5.2 or newer, you can simply press the “Test” button on each fixture in your patch that you want to test.
If you are running an older version of Beam, open Ableton Live and from the folder /Beam [version] Plugins/Instruments in the User Library, drag and drop “Par.amxd” into a new track. In the top panel is a drop-down menu where you can select a tag name associated with one or more fixtures. To continue our example, here is where I would select “Hue” to control all of the lights I added in my patch.

Increase the “Intensity” value and you should see your Hue bulbs lighting up with the selected color. Now turn the intensity back to 0 and try playing some midi notes. You should see each fixture light up with the corresponding note value tag that was assigned in the patch editor.
Working within the constraints of the Philips’ Hue API
According to the documentation of the dmx-hue package:
“With the Philips Hue API it’s only possible to update the state of bulbs 10 times per second, 1 bulb at a time. Compared to a single DMX universe, which controls all 512 individual parameters up to 44 times per second, there’s some major differences in how quickly we can update your lights using this software bridge.
This is especially noticeable when using automation sequences, if you try to update Hue lights quicker than 0.1s times the number of lights in your projects, some updates may be skipped.”
In other words, there is a limit to the number of events that you can place near each other in a composition, roughly 1 per 100 milliseconds. An event is any command sent to your lights via Live, including note on/offs, and changes to color and brightness. This essentially limits pulsing, envelopes, and other continuous or fact-acting effects. When the limit is exceeded and the Hue Bridge gets overloaded, you may notice unpredictable behavior, such as lights not triggering on or off when you expect them to.
Have fun!
Now you are ready to create your own light shows in the comfort of your home. Share your compositions with us and others on Instagram by tagging #BeamForLive. We can’t wait to see what you create!